In this blog we will follow steps to set-up a single-node Kubernetes cluster locally on Linux (I am running Ubuntu 18.04).
In general we will follow the tutorial from the Kubernetes website.
We will use Minikube, which is a tool created by Kubernetes which makes deployment of a single-node Kubernetes cluster easy to set-up locally. Minikube is not suited for running Kubernetes in production, since it is limited to a single node and runs in a virtual machine on your operating system. It is however suited for learning purposes. If you are looking for using Kubernetes for a production environment, you should check out a cloud hosted Kubernetes Cluster, such as Google Kubernetes Engine (GKE), Amazon Elastic Kubernetes Service (EKS), Azure Kubernetes Service (AKS) or another cloud provider.
If you want to continue with the installation of the local Kubernetes cluster, then make sure you at least have 22Gb or more of disk space left on your machine, as you will need this for the installation of all components.
First check if virtualization is supported on your machine, this is needed, such that Minikube will be able to set-up a Kubernetes cluster in a Virtual Machine. Open a terminal and execute the following command.
1grep -E --color 'vmx|svm' /proc/cpuinfo
You are good to go if the output is not empty. If not empty, you will probably see a lot of lowercase keywords with ‘vmx’ or ‘svm’ highlighted.
Next install kubectl. Which is short for Kubernetes Command-line tool, this is used to run commands against Kubernetes clusters.
Do this by running the following commands in your terminal.
1sudo apt-get update && sudo apt-get install -y apt-transport-https gnupg22curl -s https://packages.cloud.google.com/apt/doc/apt-key.gpg | sudo apt-key add -3echo "deb https://apt.kubernetes.io/ kubernetes-xenial main" | sudo tee -a /etc/apt/sources.list.d/kubernetes.list4sudo apt-get update5sudo apt-get install -y kubectl
Next we will install a Hypervisor, which is part of the infrastructure that orchestrates the Kubernetes cluster. In order to do so we will need to be able to deploy it in a Virtual Machine. We will do that with the tool KVM. Install KVM by running:
1sudo apt-get install qemu-kvm libvirt-bin ubuntu-vm-builder bridge-utils2sudo adduser `id -un` libvirtd
My output was
1adduser: The group `libvirtd' does not exist.
And if you are running Ubuntu 18.04 LTS or higher also run:
1sudo adduser `id -un` kvm
Output:
1Adding user `bas' to group `kvm' ...2Adding user bas to group kvm3Done.
Then run the following to test your installation:
1virsh list --all
The output should be something like this:
1Id Name State2----------------------------------------------------
If the output is something different, try to relogin on Ubuntu, so that your user becomes an effective member of kvm and libvirtd user groups.
Next we are going to install Minikube. We will use the Binary Download by running:
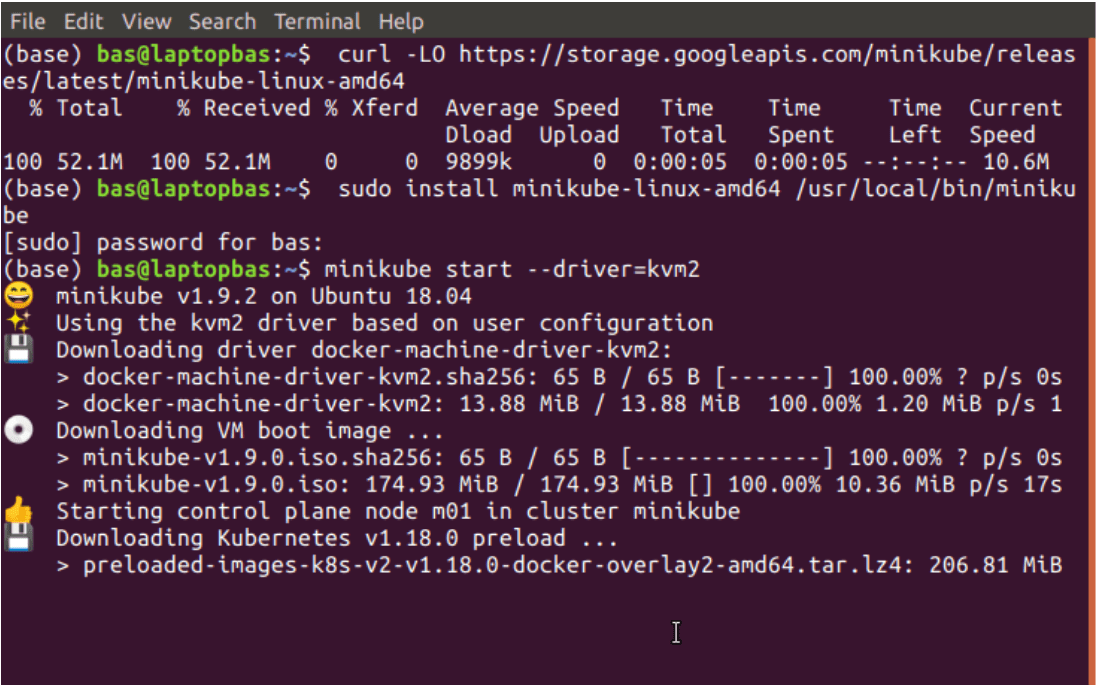
1curl -LO https://storage.googleapis.com/minikube/releases/latest/minikube-linux-amd642sudo install minikube-linux-amd64 /usr/local/bin/minikube
To verify the installation of Minicube and KVM (our Hypervisor), we run the following command:
1minikube start --driver=kvm2
If you run into disk space problems at this step (like I did). You can remove minikube data by calling:
1minikube delete
Try to rerun
1minikube start --driver=kvm2
again afterwards. You can expect the following output after the previous command:

In progress..

Done
Check the installation by running
1minikube status
Which should output something like this:
1m012host: Running3kubelet: Running4apiserver: Running5kubeconfig: Configured
We have now successfully installed a single-node Kubernetes cluster locally.
In our next blog we will go in depth about the basic concepts of Kubernetes.